While I am sure I complained enough at the time, now I miss it a little bit. There is nothing like popping a fresh juicy raspberry into your mouth - right off the plant. I think the berries tasted better when I had to work harder for them.
This pie is reminiscent of summers like that. It is all fresh peaches and juicy raspberries in a flaky pastry crust. I wanted this pie to be truly authentic, so I included raspberries straight from my parents' garden.*
 |
| * via the freezer. It turns out authenticity doesn't travel well in 90 degree heat. |
 |
| My daughter has informed me that this looks like meat. Trust me, it's raspberries, not hamburger. |
The raspberries were free to me. My parents picked and washed them, and froze them for the trip to my house. I thawed them by leaving them in the refrigerator while I was at work - about nine hours. The recipe I was working with called for sugar to sweeten the filling, and cornstarch for thickener. I substituted my favorite clear gel from King Arthur Flour instead. The dry ingredients need to be whisked together before they are added to the fruit, or the filling will have sugar clumps. (This has happened to me, and while it doesn't taste bad, neither does it look appetizing.)


The recipe also called for a pinch of salt. Salt is a key ingredient in sweets because it wakes up the flavors - especially flour and butter. It also cuts the sweetness of the fruit and sugar so that you taste the individual ingredients better - rather than just an explosion of sweet.

Let the whisking commence!

And by "whisk" I mean stir quickly with a fork. My whisk was in the dishwasher. FYI - this is the best job to give kids if they want to help. Just make sure your counter is really clean first, because there is going to be a lot of sugar flying outside the bowl. You can just sweep it back into the bowl when they're done...not that I did that with this pie....or any pie...eh-hem. Moving on.

The peaches needed to be cut and peeled. The nice thing about using a firm peach is that I didn't have to worry about smooshing it while I cut. The downside is that the pits are really hard to remove. Pulling the two halves apart didn't work.

I broke out my spinach, Popeye-style, and twisted the two halves until one side literally ripped apart from the pit. I think I burned enough calories in the making of this pie to earn two slices. Maybe with ice cream.

 |
| I am just gesturing in the photo above so that you know where the pit is. I am totally not about to stab that peach with a super sharp knife - while I am holding the fruit in my hand. It's all about safety in my kitchen. |
I used a knife to remove the pits and cut away the bits of the seed coat that stuck to the peach flesh. The dark red bumps that remain after the pit is removed are edible, but they are hard and bland. None of that in my pie, thank you. I sliced the peaches and peeled them before tossing them in with the raspberries. The slices I made were thin. I was hoping the thin slices would be easier to coat with the sugar.


 |
| Holy fruit pies, Batman! That's a lot of peaches! |


The filling was ready to go into the crust as soon as it was mixed. After my abysmal Vodka Crust I decided to try out a new recipe: Flaky Butter Pie Crust. (Of course, I didn't know at the time I made this pie what had gone wrong with the Triple Cherry - I hadn't looked at the photos yet.) I patted the crust into the 9" glass pie plate and poured in the filling.


I set the pie on a cookie sheet to catch any spills. I've already established that I usually overfill my pies. Clearly, my eyes are bigger than my pie plate. This recipe called for a total of 13 cups of raw fruit. I went a little over that - by about two cups. When the pie cooks, the filling will bubble. If there is too much filling, it will spill over the crust and onto the inside of the oven - hence the cookie sheet.
Fruit pies just about must have a top crust. I'm pretty sure the National Pie Council was ruled on this. I wanted to do something different than the lattice top, but a plain top crust is not very pretty. It also won't vent. The filling is going to cook in the oven and create a lot of steam, so it is important to have vents cut in the top crust. It can be as simple as slitting the pastry with a knife or as elaborate as hundreds of tiny cutout designs. First I rolled out the dough on a sheet of foil backed parchment paper. If I look like I'm struggling with the rolling pin, it's because I am.


This was a chilled crust - meaning it needed to sit for at least 8 hours in the refrigerator before rolling. It was difficult to roll out. I told my husband it better be worth it, because my arms were killing me by the time I was done. The pastry was heavy on the butter, and it started to stick to the rolling pin as I got it to the correct 1/8 - 1/4 inch thickness. I dusted it with flour to keep the dough from tearing.

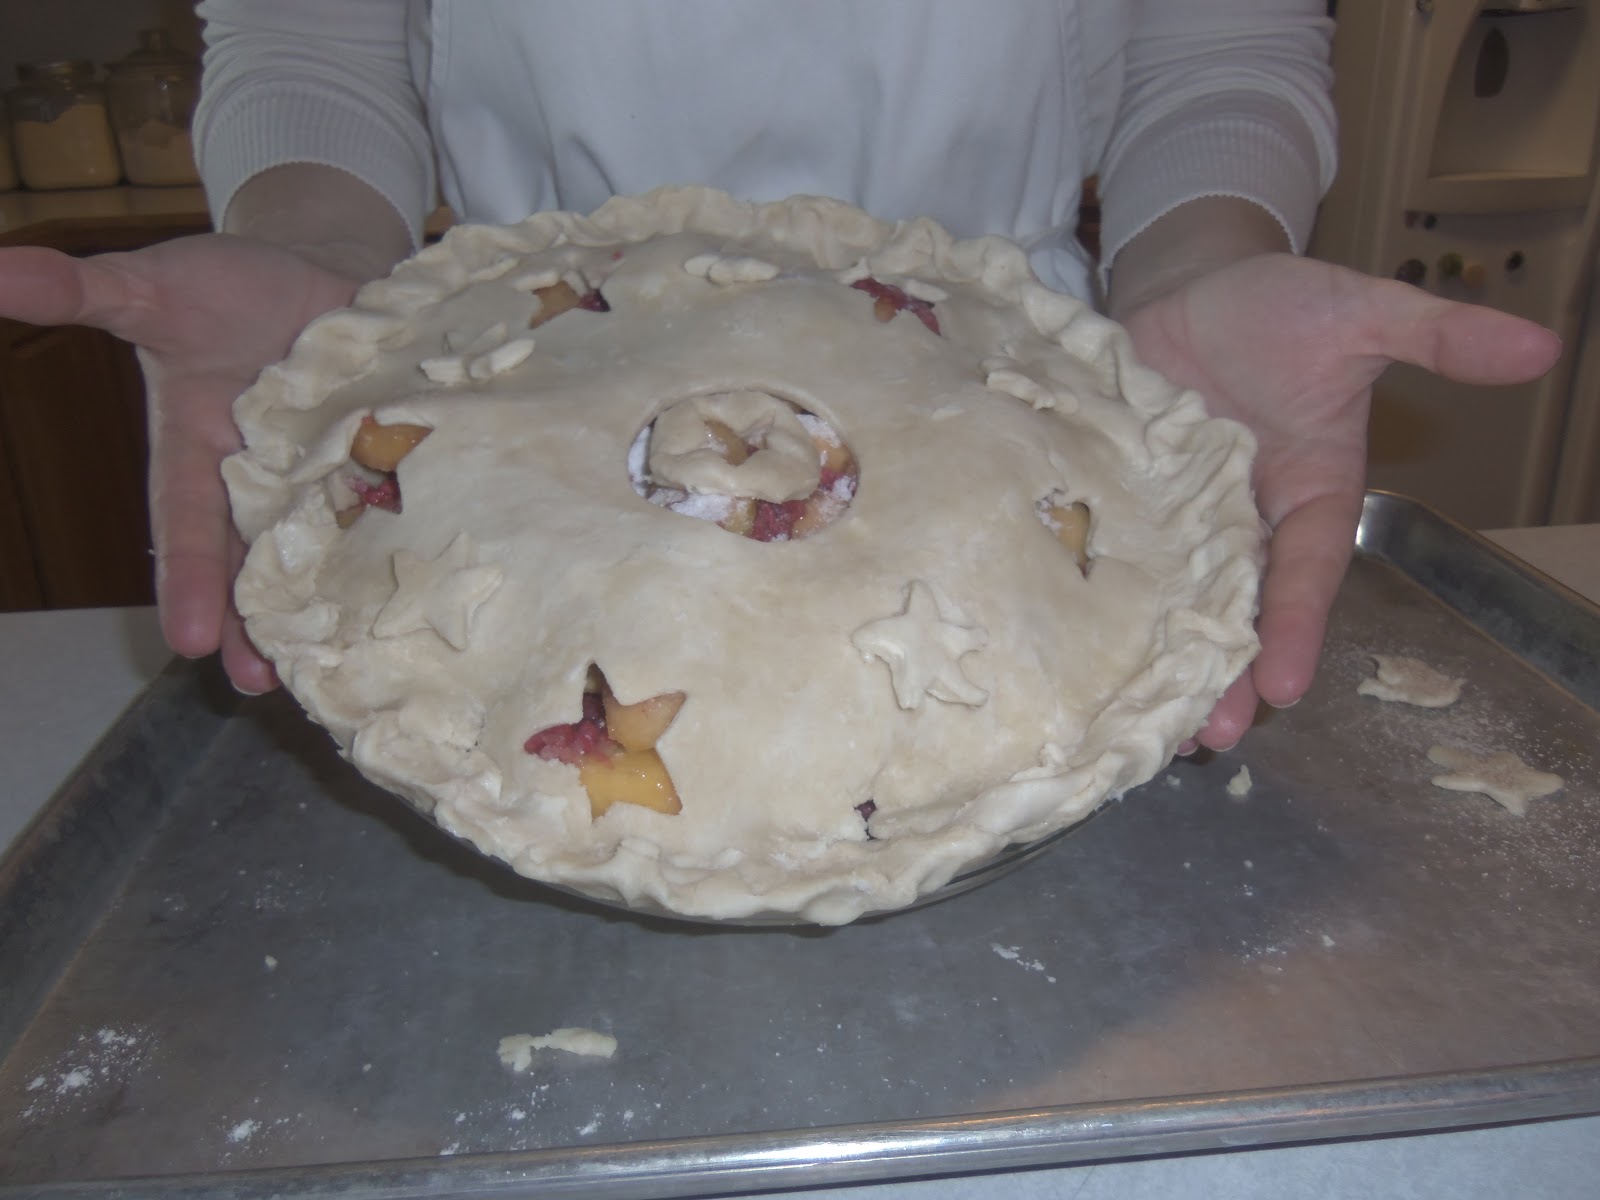
When it was thin enough I got out the cookie cutters. I used a round biscuit cutter to make a large vent in the center. A tiny star shape made nice vents around the edges. I used a butter knife to help me pick the dough out of the shapes without mushing it up. I saved the stars and used them to decorate the top of the pie. You can use pretty much any shape, but these were the only cookie cutters I had that weren't obviously Christmas-y or Halloween-y.


There is no way I would ever attempt something this fancy without the parchment paper. If I had to roll my dough onto my rolling pin or lift it with a spatula to transfer it onto the pie I would ruin it. No question. The parchment paper makes it easy to center the dough over the pie.


Then I peeled off the paper. The parchment side is waxy, and the pastry sticks to it. However, as long as you go slowly, the paper pulls away from the dough easily. I decorated with my leftover stars and crimped the edges of the dough.

Looks delicious. I put on the pie shield - for pastry safety - and into the oven it went. Notice I used my dough scraps on the left side of the cookie sheet. This pie bakes for a long time - 2 1/2 hours - so the scraps will be done before the pie. They'll be a good indication whether this crust recipe is a keeper.

 |
| Nope, still haven't cleaned the oven. Don't judge me. Judge my pie. |
I almost forgot the milk! For an extra flaky crust, my pastry recipe suggested brushing the top with a mixture of milk and egg. I used half-and-half, because why use skim if you have cream? The brush I used is a pastry brush from Wal-mart. I would recommend that you spend a little more for something higher quality. Mine loses bristles every time I put it in the dishwasher.


Now it was really ready to bake.

I took off the pie shield after an hour of baking, but the crust was browning pretty quickly. The last 45 minutes in the oven I had on the pie shield and a sheet of aluminium. I was worried that it might burn, or at least over-brown.

The crust looked great! The crust looks a little thicker around each cut out area. Golden and flaky, you can see here where it puffed up (just like it was supposed to) around the center vent. It did bubble up and spill onto the upper crust, just like I thought it would. It isn't as pretty as I had hoped, but it smelled amazing. I hope the pie experts like it.
- the Headless Cook
No comments:
Post a Comment