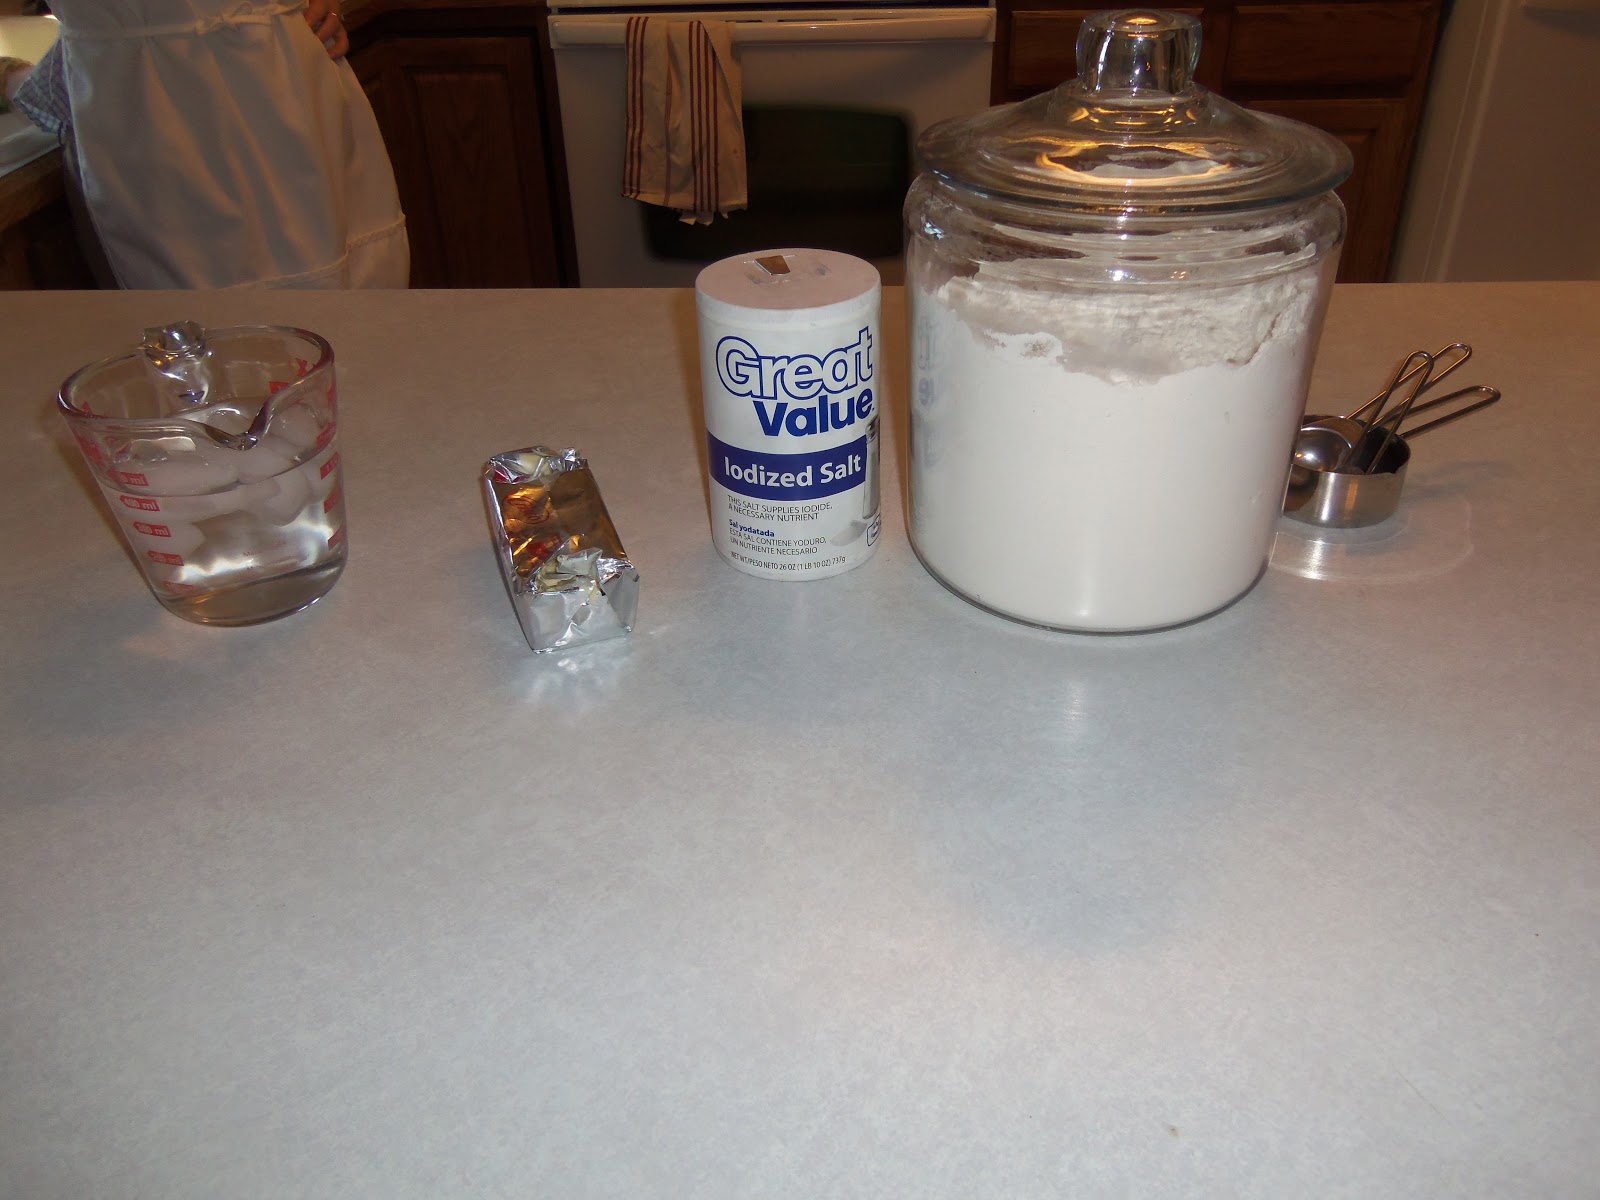
Hopefully, this will not be a repeat of that mistake. It seems that most excellent pie crusts have a few similar ingredients: ice cold water, a generous portion of fat (lard, butter, or shortening), and a hearty reminder not to overwork the dough. The crust I made here was a variation of one I have used before from King Arthur Flour. I should note that I did not, nor do I usually, use King Arthur Flour. (It is an excellent product, but I have not noticed any significant difference between it and my tried and true store brand flour.) This recipe calls for ice cold water, shortening, butter, salt, and flour.
After my husband had made some very gentle, and some blatant, comments that my crusts could be flakier, I started a little experimentation. Unfortunately, it seemed like most flaky recipes were really hard to work with - crumbly and difficult to roll out. Most stickier dough recipes were easier to shape, but they were thicker and harder. The mysteries of the internet led me to a secret ingredient:

That, my friends, is Vodka. You may not recognize the brand - strictly bottom shelf stuff for this purpose. Water is used in a pie crust to make the flour stick together. Some of it evaporates during baking - making a flaky crust. Too much water in makes a thicker, more bread-like dough - not as much evaporates. Substituting a few tablespoons of water for vodka makes the dough wetter while you roll it out. Alcohol has a lower evaporation point than water, so it leaves the dough first. Flakiness ensues, theoretically.
I started by whisking together the flour and the salt. It is tempting to dump all of the ingredients together and try to save a little time. But, and this comes from experience, DON'T DO IT. The magical science (scientific magic?) of baking only works if you follow the steps. Read that sentence again and remember it. Later on that is going to be funny to you...really disappointing for me.

Next you will want to cut in the shortening until it is in pea-size lumps. What does that mean? Behold!

First there was shortening...

Cutting...cutting...


Basically, there isn't much resemblance to peas. It is just small, dry clumps. I use a pastry blender for cutting. You can use two butter knives or a fork. I happen to own a hand-me-down pastry blender, and it seems to work for me.

Next you dice a stick of cold, unsalted butter and cut it into the flour until you don't have any pieces of butter larger than 3/4 of an inch. That is about the size of a fingernail. If you haven't spent much time perusing the dairy section of your grocery store, allow me to blow your mind. Butter, real butter, comes in salted and unsalted. Most of the time, baking uses unsalted and a recipe will call for additional salt. This allows you to regulate the amount of salt better. Remember that we're doing science here? Salt is necessary to promote browning of the crust and keep the pastry crust from feeling like a greasy mouthful of butter, shortening, or (and this is going to make you hungry) lard. See? Salt is important. No one wants to taste lard.
Next comes the water. Add it a tablespoon at a time, to keep from pouring in too much. I used a fork to gently mix it together. I have no idea if this is the best method, but the dough sticks less to a fork than a spoon.


The recipe called for 1/2 cups plus 1-2 tablespoons of ice cold water. I substituted 4 tablespoons of vodka for the same amount of water.

I gradually mixed in the liquid with my fork until I could make it stick together reasonably well.


Next, I split the dough in two, making clumpy piles on parchment paper. The recipe I used recommended parchment paper to keep the dough from sticking to the counter. I used foil backed parchment paper - not intentionally, that's just what my husband bought at the store. It works even better than the waxed paper I used in the past. I was very pleased with it when I got to the rolling and cutting stage.


The dough was still pretty dry. I didn't think it was going to hold together well enough to roll out. King Arthur recommended spritzing the dry spots with a spray-bottle of water. I didn't have a spray bottle. So I improvised.


I sprinkled the water using my hand, and then worked it into the dough with a few quick pats. The parchment paper allows you to work the dough without over-working the dough. Whenever I knead anything, I have a tendency to get carried away. That is the kiss of death for pie crust. I folded the dough in half using the parchment paper to keep it all together.

I repeated this process 3-4 times on each of the two piles of dough I originally made.


The dough was in a 1-2 inch thick square after folding. I shaped it with my hands to make a rough circle, then rolled it along the paper to firm up the edges and pick up a few dough crumbs left on the paper.


Once I had two 1-2 inch thick wheels of dough, I wrapped them in the parchment paper and placed them in the refrigerator. Chilling the dough helps the fat ( in this case shortening and butter) firm up and make the dough easier to work with. I waited 30 minutes before getting it back out. I dusted the top of the dough wheel with flour, to prevent my rolling pin from sticking. And then the work began.


The parchment paper was great for this part. Instead of trying to reach weird angles in order to roll out my dough in a circle, I just turned the paper. It kept me from ending up with a rectangle instead of the nice pie shape seen here.


I don't own one of those rolling sheets with the pie measurements printed on it. Instead, I eyeballed it and checked against the actual pie plate when I thought it looked the right size.

When I had it thin enough, the parchment paper came in handy again. I set the pie plate down on the center of the dough and used the paper to flip over the crust. This was much easier than trying to roll the crust onto my rolling pin or lift it onto the pan with my hands.


I used my fingers to press the crust into the pie plate. Then I was ready for filling. The second half of the dough received the same rolling-out treatment. At that point it is ready to be cut into lattice strips, vented, or what have you. The parchment will come in handy again when I am ready to put on the top crust.
That is it for this crust. It is ready for delicious whatnot and baking.
P.S. Have you caught my mistake yet? I didn't notice until I was writing the post...but it explained a few things I heard in the experts' reviews.
- the Headless Cook
No comments:
Post a Comment