Pot pie is one of my favorite meals to make - right up there with soup. You can use pretty much anything you have on hand and tailor the filling to the people who will eat it. Sometimes I like to make individual pot pies for my family. I put in the basics for the kids' filling, and then add onions, mushrooms, and spices for the adults. Of course, you can make a vegetarian pot pie, but that's not really my family's thing, so I usually stick to the basics of beef, pork, or chicken.

However, it is fall, which is time for baking and also for cleaning out the freezer. The perfect combination for pot pie. I had elk round steak that needed to be used before we go to the butcher again, so this week's pie is Venison Pot Pie. I used the Butter Flaky Crust recipe and substituted Onion Salt for plain salt. It gives the crust a more savory flavor that works well with a meat pie.


I chopped my onions the way they do on cooking shows. This was the first time I had tried something like this, but it is supposed to be safer than just hacking away. You know how important safety is to me. *cough* I made three slices through the cut end of the onion (on your left in this picture, parallel to the cutting board) but stopped short of cutting all the way through the onion. Then I made five vertical cuts, again, not going all the way to the end (right) of the onion. Then I sliced it, as if I was making rings, and little diced bits of onion fell onto the cutting board. Voila! Almost.

I don't have a lot of pictures for the cutting, because I cut myself on the first step. Ironic that I would try a "safer" method and nearly amputate my own finger.
A/N: My husband wants it noted that I was in no danger of losing any digits. I don't think he takes my welfare are seriously as he should.
I immediately stuck my finger under cold water and it didn't bleed too badly. These knives are sharp, people. One band aid later and it was back to the cutting board.


The onions needed to be sauteed before they went into the veggie mixture. I heated four turns of extra virgin olive oil (that's four turns around the pan, drizzling the oil) and three tablespoons of unsalted butter.


The onions were dumped on top and I turned the heat to medium.
What are onions without a little garlic? Nothing, that's what. I had fresh garlic on hand, but the pre-minced stuff in a jar works just as well for this purpose.


The easiest way to peel garlic is to smash it. That seems counter intuitive, but it works. I put the flat of my knife on the clove and hit the blade with the heel of my hand. Once it was smashed, the skin came off easily and I could mince it.

I scraped the garlic into the onion and left it to saute.

While that cooked, I prepped the rest of the vegetables. Three carrots were peeled and diced.


I like color and crunch in my veggies, so I added the carrots to frozen corn.

I also had a few shiitake mushrooms on hand, so they were also sliced and added them to the onions and garlic sauteing on the stove.

A bell pepper went in too. Despite my mishap using the "safer" method for dicing onions, I tried a new way to cut peppers that claimed to be safer and keep the seeds corralled.

I sliced the pepper all the way around, but not through the stem.

I grabbed each half of the pepper and pulled it apart.

It cracked nicely at the stem, leaving the seed ball completely on one half of the pepper.


Then I just pulled off the seed ball. Painless. This time.


I cleaned up any leftover seeds as I sliced each quarter into strips. Then I diced the strips and added them to the veggie mix.


The onions and garlic were nicely caramelized by the time I was done chopping. The onions had browned on the edges and gotten mostly clear in the centers. Caramelization mellows and sweetens the flavors of onions.

I scooped the onion/garlic/mushroom mixture out into a bowl and set it aside for later. I needed the pan for the meat.

There are three main parts to pot pie filling: the meat, the veggies, and the roux. I always cook the meat before I put it in the pie to make certain it gets done. I used venison for this pot pie, but any kind of meat works.


I used three, fairly large round steaks. The amount of meat is subjective. If I were making this pot pie just for me, I would only use one steak - cut into small pieces. My husband likes a lot of visible meat in his pot pie, hence the three steaks.


I started by trimming the fat from the meat. I really dislike the look of the fat, so I have to be careful not to get too carried away. Remember, fat is flavor - whether that is butter, or sugar, or...actual fat. Nobody wants to bite into a chewy piece of fat (this isn't the old '96er, Mr. Candy). But no one wants to eat dry, tasteless meat either.
 |
| "There is nothing left on that plate but gristle and fat!" |

After I trimmed the meat, I cut it into cubes. The cubes are about 1-2 inches each.


Into the pan they went. Venison is leaner than beef, and I planned on making a roux with the drippings so I needed to add a little fat. For anyone who doesn't make gravy, drippings are the juices and bits of meat left in the pan after meat has been cooked. For gravy, you stir flour into the drippings and add stock (beef, chicken, or vegetable broth) and gradually cook until it thickens. A roux is a base used for gravy and other sauces: flour and fat.


I added a tablespoon of unsalted butter and about three turns of extra virgin olive oil to the meat. I set the heat on medium high. Meat also needs seasonings. Some recipes call for complex blends of salts and spices. However, I'm of the school that good meat can stand alone. There will also be a lot of other flavors going on in the pot pie with the variety of vegetables I'm adding, so I wanted to keep the seasoning simple.
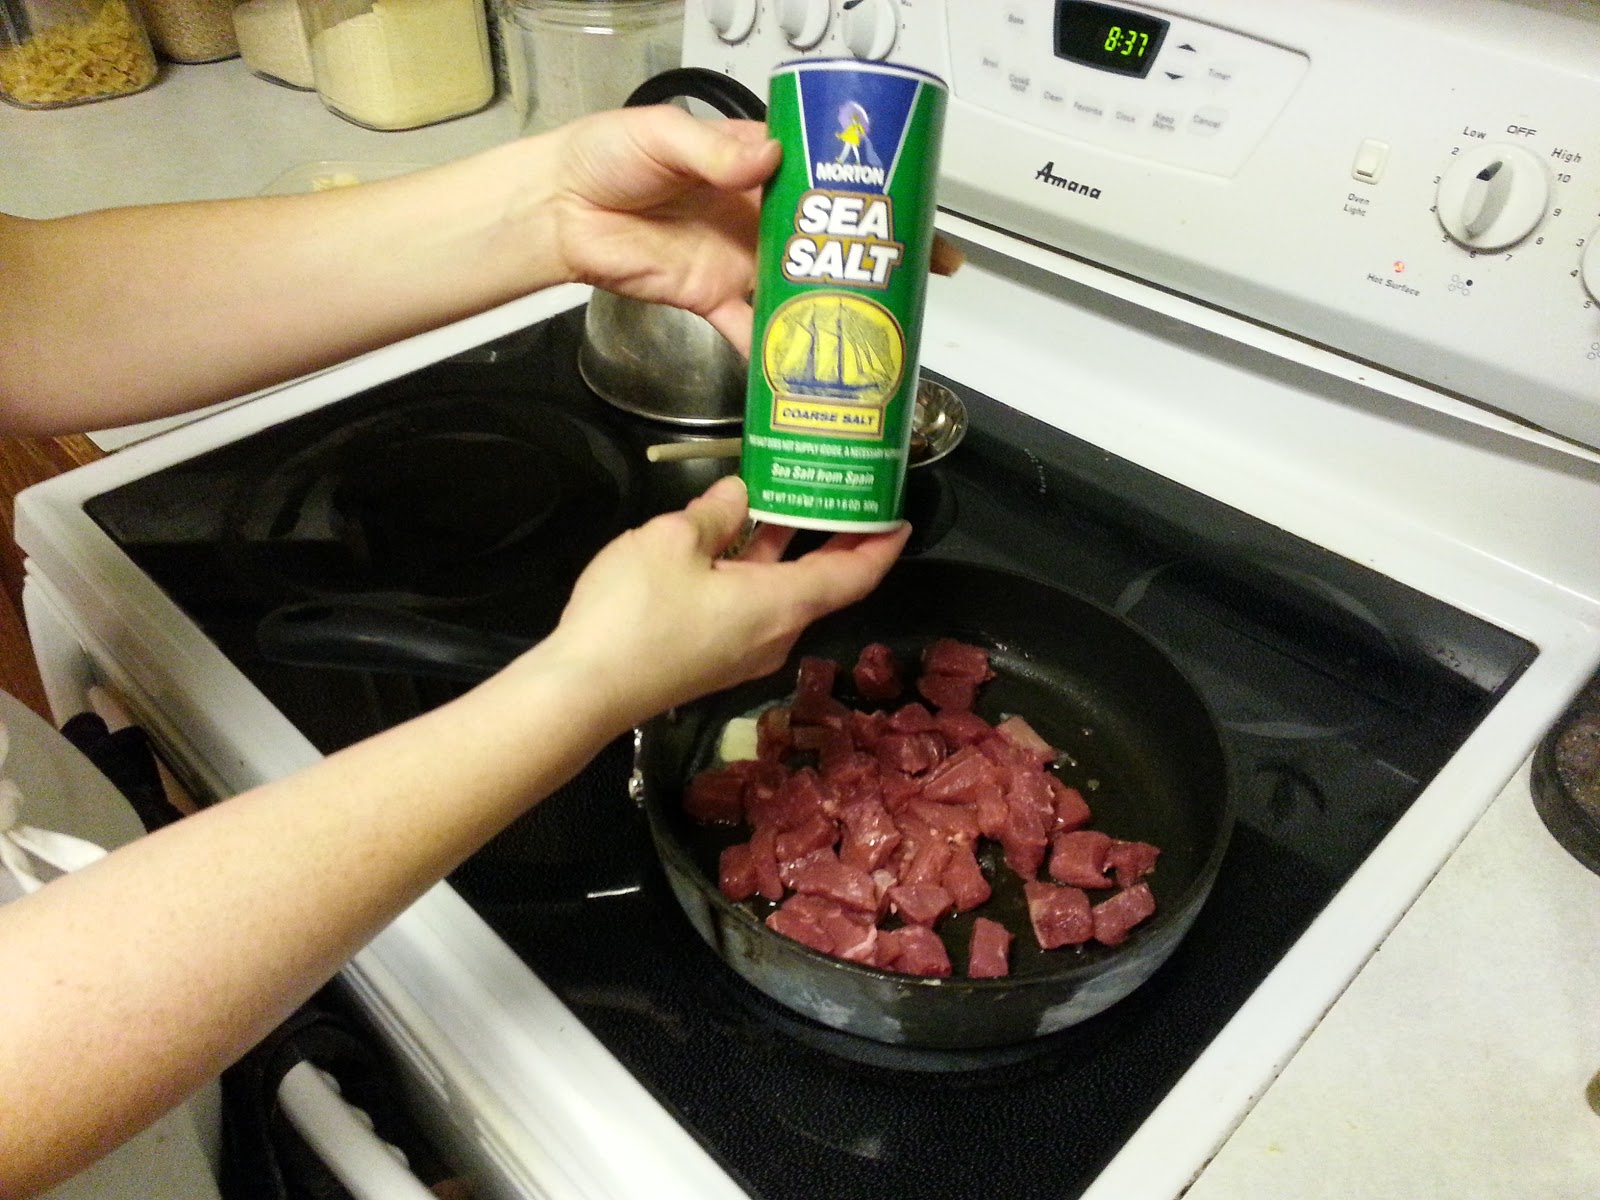

I sprinkled coarse sea salt over the meat, about one tablespoon. I have no reasoning for using coarse salt over regular table salt other than this: the large grains are easier to sprinkle; and, Alton Brown does it that way. That man is a cooking scientist. He must be right.

I sprinkled a little fresh ground black pepper on the meat and covered it. Covering the meat will keep it from drying out and allow more liquid to collect in the pan - which I need for my roux later.


The meat was cooking nicely, here. I stirred it gently to make certain it browned evenly.

After 12-15 minutes, the venison looked like this. It was tender and brown, and had a nice amount of juice in the pan. I scooped off the meat into my onion bowl and set to work making the roux.


I already had the fat for my roux in the pan, but I was still a little worried about the leanness of the venison. I added another tablespoon of butter and a couple of turns of EVOO.


Once the juice was heated, I added about 1/8 cup of flour.


A whisk worked out the lumps in in under a minute it looked like this:

I added a 1/4 cup of table cream and 3/4 cups of skim milk and whisked again.


Then I turned down the heat to medium low and left it to simmer while I got the filling ready.


I ended up with leftover filling. (I think this is becoming a thing for me. I should probably see a professional about it.) I bagged what was left and labeled it to go in the freezer. I can throw it in a baking dish with some hash browns in the future and - instant casserole.


The roux had been heating on low for about six to seven minutes and was starting to thicken and bubble. I gave it a quick whisk and poured it over the filling.


The pie was ready for the top crust. I rolled out the second half of the pastry into a rough circle. Pies need to vent (don't we all), so I needed to cut slits for the steam to escape.


I used my tried and true method of rolling the dough out on a sheet of parchment paper and using that to flip the pastry out onto the pie.


I gently peeled off the parchment paper. I did have a bit of stretching and sticking to the paper. The dough was left sitting on the counter while I cooked the filling, so I think it got to warm to peel away easily.


I crimped the edges of the crust together...


And the pie was done!

I didn't want to have the pie that day, so I covered it in foil and put it in the freezer.
 |
| I wrote the baking instructions right on the foil, so I wouldn't have to look for the recipe when I was ready to make it. |
 |
| The filling still overflowed. |

- the Headless Cook
No comments:
Post a Comment